Overview of beeswax wrap production methods
Beeswax wrap production can be divided into two steps: waxing and cutting. Depending on the requirements, each step can be done in different ways, from entirely by hand to a fully automated process.
Waxing
Variant 1: Manual work
- Quality: ★☆☆
- Time saving: ★☆☆
- Flexibility: ★★★
- Investment costs: low
- Suitable for: small series & samples
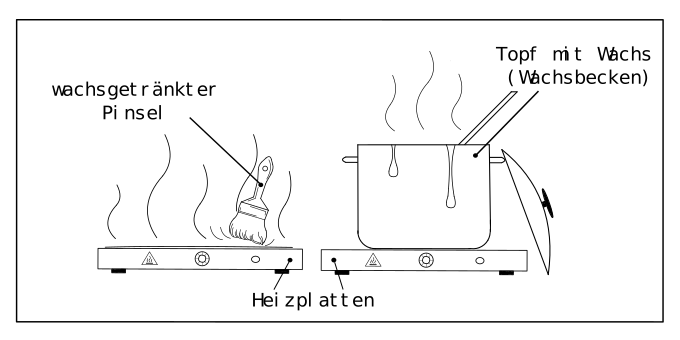
The wrap is coated with wax on a warm hotplate using a brush, then hung up to dry. This method is well suited to home use because it is easy to carry out and requires little investment.
However, the tools are difficult to clean after use and may not be suitable for other purposes. The wrap size is limited by the hotplate, but can otherwise be chosen freely.
This waxing method makes every wrap unique, which can be an advantage or disadvantage depending on your preferences.
Variant 1a: Manual work with fabric unwinding device
- Quality: ★☆☆
- Time saving: ★★☆
- Flexibility: ★★★
- Investment costs: medium
- Suitable for: small series & samples
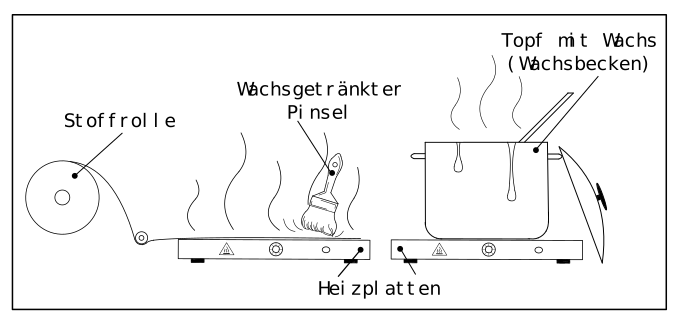
A slightly more professional hand-working method is to wax fabric that has been cut from a roll of the desired width. This saves a step and time, which is helpful for small batches. It only makes sense if you want to produce a somewhat larger quantity of beeswax wraps.
Variant 2: Automated

- Quality: ★★★
- Time saving: ★★★
- Flexibility: ★★★
- Investment costs: high
- Samples, small series & large orders
In this method, a roll of fabric is fed through a vat of wax. This gives the wraps a consistent thickness and speeds up the process. It is ideal for larger quantities and offers flexibility in wrap size.
Cutting
Variant 1: Manual work with a rotary cutter
- Quality: ★★☆
- Time saving: ★☆☆
- Flexibility: ★★★
- Investment costs: low
- Suitable for: Samples & small series, positional printing
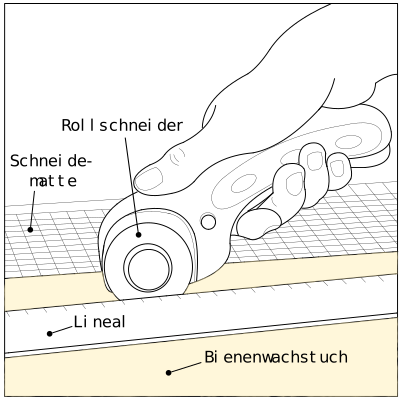
A rotary cutter works well for making wraps at home and for producing small batches commercially. It is easy to use, but slower than other methods. Repeatability is poor, so cuts can be imprecise. However, it is the standard method for wraps with positioned prints because the cut can be adjusted to fit the design.
Option 2: Machine or robot cutting
- Quality: ★★★
- Time saving: ★★★
- Flexibility: ★★★
- Investment costs: high
- Suitable for: small series & large orders in scatter printing
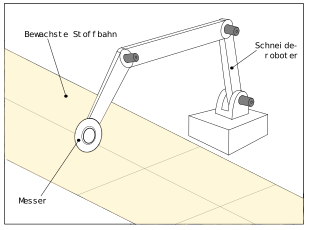
Machine cutting is especially suitable for large quantities because many wraps can be cut in a short time. This method is only used with automated waxing, which also allows larger sizes because it is not limited by the hotplate. Measurements can be adjusted, and some machines can cut several sizes at once. The disadvantage is that this method is suitable for scatter printing only, not positioned prints. The investment costs are very high.
Variant 3: Laser cutting
- Quality: ★★★
- Time saving: ★★★
- Flexibility: ★★★
- Investment costs: high
- Suitable for: samples, small batches & large orders, position & scatter printing
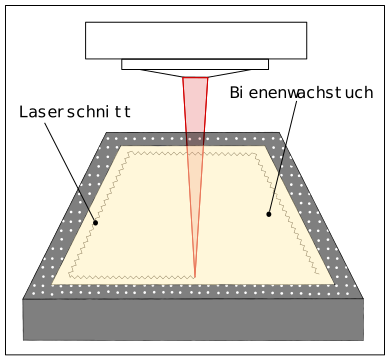
Laser cutting is a very precise method with high repeatability. It works for both small and large quantities and for almost any wrap size, depending on the laser. This makes it very flexible. However, the high investment costs mean it is suitable only for commercial use.
Variant 4: Die cutting
- Quality: ★★★
- Time saving: ★★★
- Flexibility: ★☆☆
- Investment costs: high
- Suitable for: samples, small batches & large orders, position & scatter printing
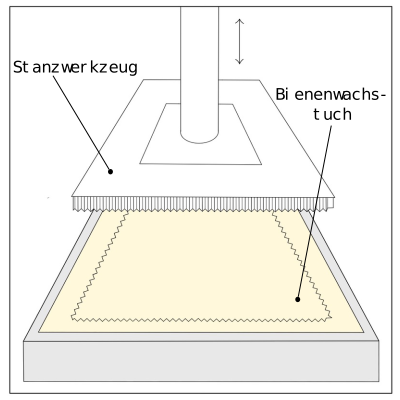
Die cutting can cut several wraps at once and offers very high repeatability. However, because the investment costs are high and flexibility is limited, it is suitable only for large quantities. The size is fixed in advance and cannot be changed later.